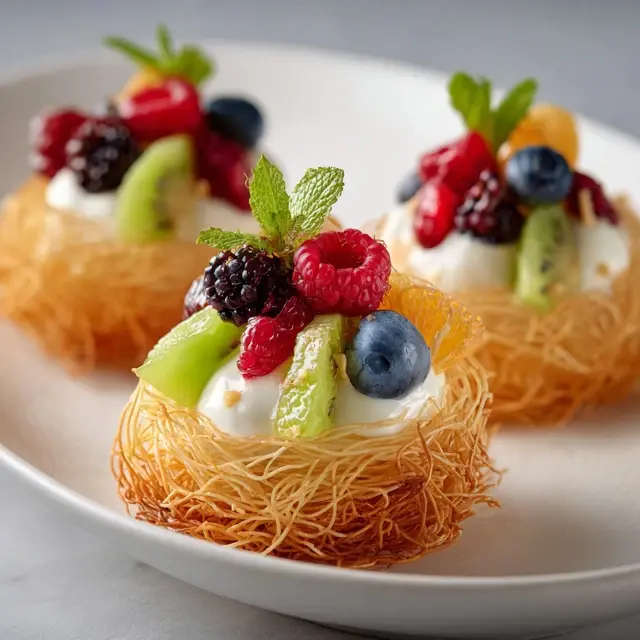
Beginner’s Guide to Shaping Kataifi Into Rolls
Kataifi’s fine strands may look intimidating, but rolling them into beautiful, golden pastries is easier than it seems. For beginners, mastering kataifi rolls opens the door to endless sweet and savory creations. With patience and a few simple techniques, you’ll soon be shaping rolls that are as elegant as they are delicious.
Why Kataifi Rolls?
Rolling kataifi allows you to create neat, portion-sized servings. Rolls are versatile—perfect for nut-filled desserts, creamy fillings, or savory appetizers. They also bake evenly, making them a popular choice for beginners.
Tools and Ingredients You’ll Need
- Kataifi dough (fresh or thawed if frozen)
- Melted butter or oil for brushing
- Pastry brush
- Baking tray lined with parchment paper
- Your choice of fillings (nuts, cheese, cream, or meats)
Step-by-Step Guide to Shaping Kataifi Rolls
1. Prepare the Dough
Gently separate the kataifi strands with your fingers. Keep unused portions covered with a damp towel to prevent drying out.
2. Portion the Strands
Take a small handful of strands, about 6–8 inches long, depending on the size of roll you want. Lay them flat on a clean surface.
3. Add the Filling
Place your chosen filling (such as chopped nuts for sweet rolls or feta cheese for savory ones) at one end of the strands.
4. Roll Gently
Fold the strands over the filling and begin rolling tightly but carefully, making sure not to crush the strands. Keep the roll neat and compact.
5. Butter the Roll
Brush the outside of the roll with melted butter to ensure golden, crispy results during baking.
6. Arrange and Bake
Place rolls on a parchment-lined tray, leaving space between them. Bake at 350°F (175°C) until golden brown and crisp.
Tips for Success
- Work quickly to avoid drying out the dough.
- Don’t overfill—too much filling makes rolling difficult.
- Use a light hand when rolling to avoid breaking strands.
- Butter generously for even browning and crisp texture.
Filling Ideas for Beginners
- Sweet: Pistachios, almonds, walnuts, or cream-based fillings with honey or syrup.
- Savory: Feta and spinach, herbed ricotta, or ground meat with spices.
Final Thoughts
Shaping kataifi into rolls may seem daunting at first, but with practice, it becomes second nature. The key is gentle handling, proper filling, and enough butter to achieve golden perfection. For more techniques to improve your skills, visit our kataifi cooking techniques guide and continue exploring this versatile pastry.


